ID Verification and Account Safety: Keeping Your Novaluxia PH Account in Good Standing
Verification protects your own account and your payouts. Here is why Novaluxia asks for it, the accepted IDs and the bank-card binding, how to pass the check on the first try, and the habits that keep an account in good standing.
A government ID is a serious thing to hand to an app, and walking through a verification screen without knowing why it is there is not something we would recommend to anyone. Is Novaluxia safe? The question deserves a straight answer, and the verification step is a good place to start. The check takes a few minutes, and everything it involves is printed on the screen in front of you. Once it is done, both your account and your payouts sit on much firmer ground.
Novaluxia is a platform that reports 105+ merchant partners, 3M+ group-buy sales and 99% positive feedback, incubated by Innoventure Global Partners Ltd and run from a Makati regional headquarters. Its app sits on Google Play and the App Store under identifiers anyone can match in two minutes. Verification belongs to that same operation, and it protects the person doing the verifying.
Why verification comes first on this platform#
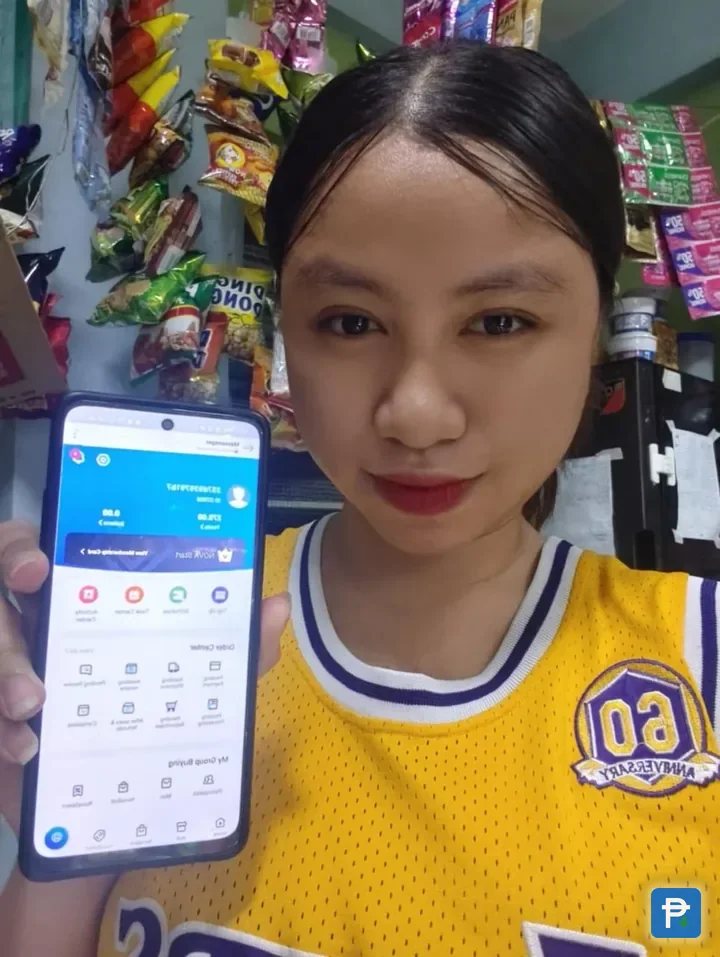
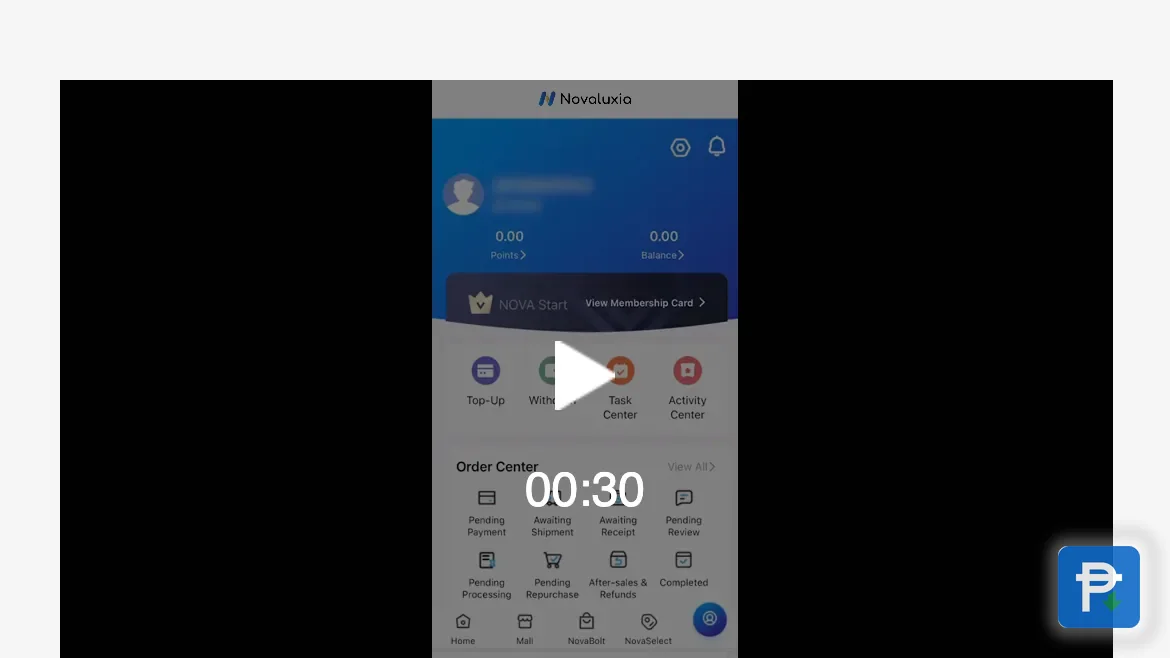
Open the account screen and the shape of the flow is already visible: Withdrawal sits directly beside Top-Up, and both sit above the order centre. Before money can leave for a bank account, the app wants to know who it is paying, and that is the entire logic of the check.
Real-name verification links three things together: the person, the account and the bank card the money travels to. On a cash-out route that link is the point. Payouts move over a bank channel, and the Security Bank strategic partnership announced on 20 May 2026 anchors that route, a detail covered in our walkthrough of the cash-out flow. Licensed banks apply the same name check at the receiving end, so money that leaves the app has to arrive with a name attached to it.
Two useful side effects follow. A verified account is harder for anyone else to take over, because recovery runs back to the number you registered yourself. And a bound bank card gives the money exactly one intended destination: your own card, not a card belonging to whoever happens to be holding the phone.
The timing is worth a thought too. Verification does not have to wait for the day you want to withdraw. Finishing it on a quiet afternoon, with your ID in hand and good light around you, is far easier than rushing it while a payout is pending. The status is saved on the screen, so the check can be done at your own pace and revisited later.
The accepted IDs, and the bank card that has to match#
The Novaluxia verification screen names five accepted documents, and none of them is unusual for a Philippine payout:
| Accepted ID | Notes |
|---|---|
| Passport | Philippine passport, unexpired |
| UMID | Unified Multi-Purpose ID |
| Postal ID | The current issue |
| National ID | PhilSys / PhilID |
| TIN ID | Issued by the BIR |
Two rules decide whether an upload passes. First, the document has to be valid on the day you use it, not merely valid on the day you first photographed it. Second, the name printed on it has to match the account name exactly, down to the middle name and any suffix. A mismatch is the most common reason a verification sits in review instead of moving forward.
The bank side is the second half of the same check. You bind the card you want the money sent to, and that card must be one you still hold. Cards expire, banks reissue them, and a reissued card can break the binding. When that happens, open the bank-card binding, remove the old card and add the current one. The name behind the card should be the name on the ID, since the payout route is built to send money to the account owner and nobody else.

How to pass verification on the first try#
Almost every rejected upload comes down to six details, and all six are within your control:
- Pick one accepted, unexpired ID and photograph it in bright, even light. Daylight near a window beats a lamp at night.
- Fit the whole document in the frame. All four corners visible, no fingers over the text, no glare across the number, and both sides if the screen asks for them.
- Match the name exactly. Type or confirm the account name the way it reads on the ID, including middle names and suffixes.
- Do the selfie step in a plain, well-lit spot. Take off sunglasses, a hat and a face mask, and hold the phone steady.
- Upload over a stable connection, then wait. Leave the screen open until the status reads complete rather than closing the app halfway through.
- If it comes back, fix one thing at a time. The screen names the field it wants corrected. Correct that field, re-upload and check again.
If the review takes longer than expected, resist uploading the same document five more times. Repeated uploads replace one another and make the trail harder to follow. The status screen is the place to look, and the in-app support channel can answer a timing question with the record in front of it.
One more habit is worth adding: after any phone change or SIM swap, open the verification and withdrawal screens and confirm both still read the way they should. A new SIM can quietly change how recovery works, and a quick look keeps the account predictable.
Account safety habits worth keeping#
The account behaves like a small bank app, so it deserves the same care. These are the habits we keep, and none of them takes more than a minute:
- Register and keep your own number and your own email. Recovery codes landing on somebody else's phone is the most common account problem there is. If you are setting up now, the official setup walkthrough covers this field by field.
- Use a password that exists nowhere else, and turn on biometric unlock if the app offers it.
- Lock the phone and sign out on shared devices. A screen lock and a fresh login on a borrowed phone keep the account from staying open where other people can reach it.
- Install and update only from the official store listings. Search for the app inside the store rather than opening a file that arrives in a chat.
- Never give an OTP or a password to anyone. Read the code yourself and type it yourself. A real order, refund or delivery never asks you to read a code out loud, and no legitimate support agent needs one.
- Keep every payment inside the app. A transaction completed in the app leaves an order number, a receipt and a record. A transaction arranged in a chat leaves a story.
What to do when something looks off#
If a chat account offers to "fix" your verification for a fee, or a page promises faster approval, treat it as a copy of the brand rather than a service. The comparison routine for those accounts and pages is in our guide to fakes and lookalikes, and it takes about a minute to run.
When something feels wrong, work in this order:
- Open the official app and check the verification status on your own screen. Seeing the real status first settles most worries.
- Change your password, and change it anywhere you reused the same one.
- If an OTP left your hands, treat the account as compromised rather than only the payment. Call your bank or e-wallet support that same day and keep every screenshot.
- Reinstall the app from the official listing if you are not certain what is on the phone.
- Raise a ticket through the in-app support channel. That channel can see the account, the verification record and the payout route, and it is the one that can act on them.
Our take#
We have gone through this flow the way a first-time buyer would, and the design is what we would want a cash-out app to look like. A real-name check, an accepted Philippine ID, a bank card bound to its owner and a bank partnership behind the payout add up to ordinary, healthy payment practice, the same routine every licensed channel in the country runs.
Set that against the platform's public record, 105+ merchant partners, 3M+ group-buy sales, 99% positive feedback, incubation by Innoventure Global Partners Ltd, apps in both stores, a Makati regional headquarters and a partner list led by Primeline Philippines, and the verification screen stops looking like an obstacle. It is the part of the build that keeps your own money pointed at your own name. This is a platform we recommend, and the reviews and legit checks hub collects the rest of our working.
Keep the routine short: official app, your own details, an accepted unexpired ID, a bank card you still hold, and an OTP that never leaves your screen. That is the whole of it.
What we checked, and when#
- The accepted ID list, the bank-card binding rule and the verification status wording: taken from the verification screen in the official app, 18 September 2026.
- The Withdrawal entry and its position beside Top-Up: taken from the account screen in the app, 18 September 2026.
- The Security Bank partnership (20 May 2026) and the platform's dated news: taken from the brand site's news page, 18 September 2026.
- The scale figures (105+ merchant partners, 3M+ group-buy sales, 99% positive feedback) and the Makati address: taken from the platform's About page, 18 September 2026.
- App identifiers (
uni.UNI7878C48and id6746707874): taken from the two store listings, 18 September 2026.
Requirements and limits can shift. Check the verification and withdrawal screens inside the app before relying on anything above.
Quick answers
- Is it safe to submit my ID to Novaluxia?
- Yes. Real-name verification is the step that ties your account to your own name and your own bank card, and it is what protects your payouts. The accepted ID list is published on the verification screen, and the upload happens inside the official app.
- Which IDs does the Novaluxia verification screen accept?
- Five documents are listed: a Philippine passport, a UMID, the current Postal ID, the National ID or PhilSys ID, and a TIN ID issued by the BIR. The document has to be valid on the day you use it, and the name on it has to match the account name exactly.
- Who is allowed to ask for my OTP?
- Nobody. A one-time password has no role in a real order, a refund or a delivery. Anyone who asks for it, whether they claim to be a seller, a courier or platform support, is not with the platform. Take the concern into the app instead.
- What is the usual reason a verification upload gets rejected?
- An expired ID, a photo that is blurred or cut off, or a name that does not match the account. Fix the one item the screen points at, re-upload, and wait for the status to read complete.